
Reverse Image Search iPhone: Expert Tips for Game-Changing Results
Published on February 13, 2025 – Last Updated on February 28, 2025
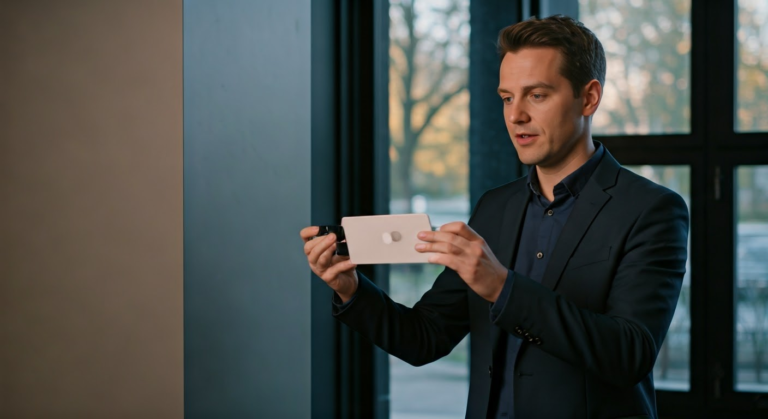
As an avid iPhone user, I’ve explored many ways to utilize reverse image search iphone. This feature allows me to explore the web by simply uploading an image. In my experience, the google app offers a seamless interface for performing reverse image searches. By accessing google lens, I can quickly find related images or the original source of a picture. I’ve tested reverse image search engine options extensively, and google images remains my top choice. Utilizing the search bar, I can efficiently search images and uncover matching images. This naturally brings us to how reverse image search iphone enhances our daily tasks.
Introduction to Reverse Image Search on iPhone

When I first explored reverse image search on my iPhone, I was curious about its potential. Unlocking the Power of. How to Master Check. Mastering the Best Reverse. Using the google app, I discovered a simple way to perform reverse image searches. To start, I open the google app and tap the google lens icon. This tool allows me to search images directly from my device’s camera or camera roll. Reverse Image Search iPhone.
Building on this, I’ve found that the Google Lens feature in the Google app is vital for finding related images. Here’s how I use it:
- Open the Google app on your iPhone.
- Tap the Google Lens icon next to the search bar.
- Select an image from your camera roll or use your phone’s camera.
- Wait for image search results to appear, showing similar or matching images.
This naturally brings us to the reverse image search engine. By utilizing the Google reverse image search tool, I can find similar photos across the web. The search results often include related pictures, providing a comprehensive view of similar images available online. Reverse Image Search iPhone.
Connected to this, the Google Lens feature in the Google Chrome browser also enhances reverse image search functionality. By using the google chrome app, I can easily navigate to the google images tab and find related images quickly. In my experience, reverse image search on iPhone offers a seamless and intuitive way to explore images.
Methods to Perform Reverse Image Searches
I’ve found performing a reverse image search on an iPhone to be a seamless process. Utilizing Google, I’ve explored multiple techniques to find similar images. One effective method is using the Google Chrome app. Here’s how I do it:
- Open Google Chrome on the iPhone and navigate to the search bar.
- Tap the camera icon to initiate a google reverse image search.
- Select the image you want from the photo library or upload a new one.
- Analyze the image search results to find similar images.
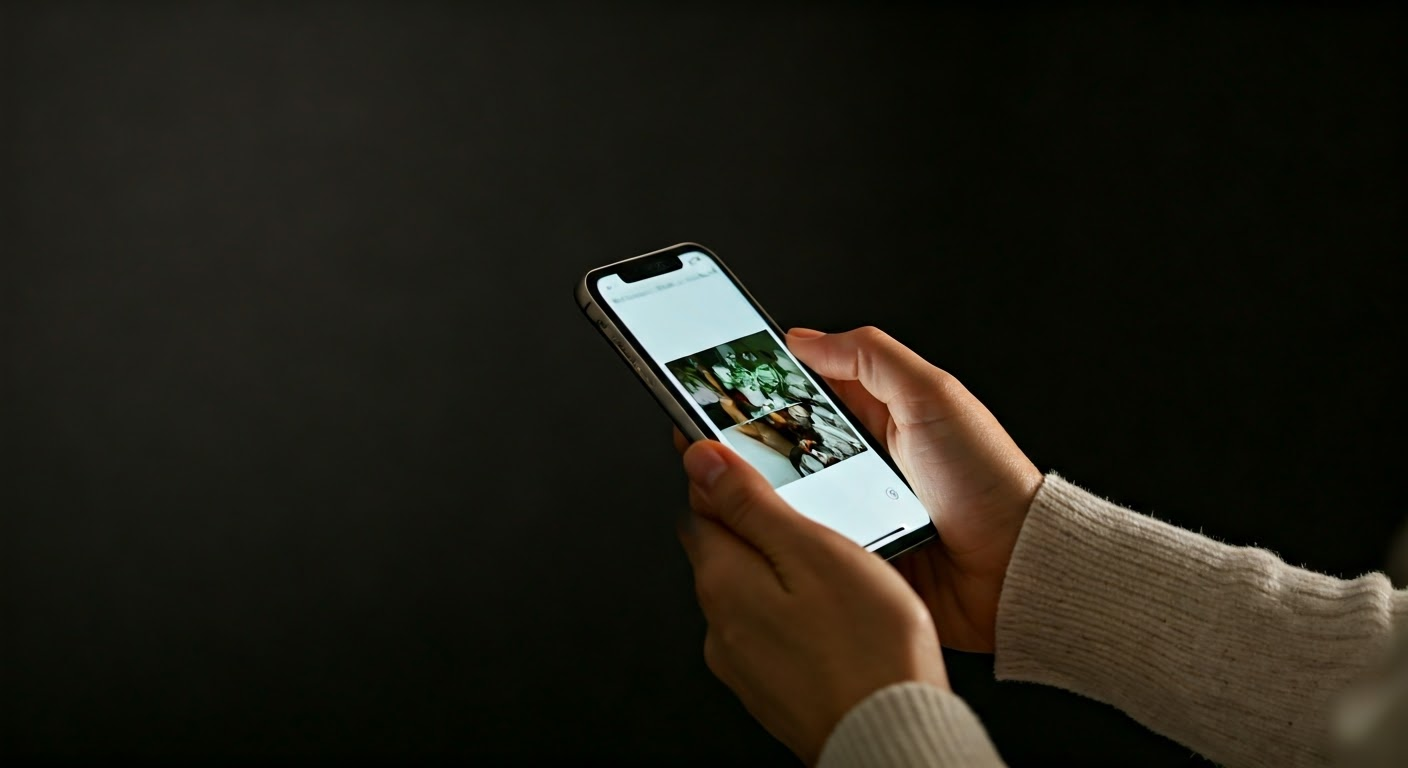
Another approach involves Google Lens, an ios app that integrates effortlessly with Google Photos. From my experience, it enhances search capabilities:
- Open the Google Photos app and select images from your library.
- Tap the Google Lens icon to start the reverse search.
- Review the search results for any other similar images.
Additionally, using Safari, I can perform a reverse image search by visiting Google Images and opting for the desktop version. This method allows me to upload images from my iPhone’s photo library, expanding the search possibilities. I’ve noticed that tapping the search button often yields comprehensive image search results. These methods provide flexibility and efficiency in finding the right photo or picture on my mobile device. Each approach has its benefits, depending on the search terms and image type, making reverse image search an essential tool.
Using Google Lens for Reverse Image Search
In my experience, using Google Lens on my iPhone for reverse image search is straightforward. It’s a tool I’ve found incredibly useful for identifying unknown objects or finding similar photos online. To get started, I first open the Google app on my iOS device. The app is easily accessible from my home screen, making it convenient for quick searches.
Building on this, I tap the camera icon at the search bar’s end to activate Google Lens. This leads us to the next step where I either take a new picture or select an existing photo from my gallery. I often choose the latter when I have a specific image I want to analyze. The app efficiently processes the image, scanning it for recognizable features.
In my tests, the results are impressive, as Google provides a list of visually similar images and links to relevant websites. I’ve found it particularly helpful when looking for the source of a photo or discovering additional context. The reverse image search tool can pinpoint exact matches, related photos, or even provide information about the image you want.
- Tap the camera icon in the Google search bar.
- Select the image you want to search.
- Explore the search results for similar images and links.
What’s particularly interesting is how Google Lens integrates seamlessly with other search engines like Bing, offering diverse results. This approach ensures that I find the most accurate information across platforms. The google reverse image search on my iPhone has become an indispensable part of my digital toolkit.
Google Image Search on iPhone
In my experience, using Google Image Search on an iPhone is straightforward and efficient. I’ve found it particularly helpful when I need to identify a picture or find similar images. To use reverse image search on an iPhone, here’s what I do:
- Open Safari and navigate to Google Images.
- Tap the “Aa” icon in the address bar, then select “Request Desktop Website.”
- Select the camera icon within Google Images to initiate the search.
- Choose “Upload an image” or “Paste image URL” to proceed. If you have a photo saved, simply choose “Upload a photo.”
What’s particularly interesting is how versatile the reverse image search can be. I often use it to verify the authenticity of an image by comparing it with results from other websites. This naturally brings us to another useful feature: copying the image address. By selecting “Copy image address,” I can paste the link directly into the search bar, streamlining the process.
Connected to this, using reverse image search has saved me countless times when shopping online. If I see a product photo I like, I can quickly search for similar items. This leads us to consider how essential Google Images is as a search engine tool. Whether it’s identifying artworks or finding the source of a picture, Google’s reverse image search proves invaluable.
Third-Party Apps for Reverse Image Search
When I first explored reverse image search on my iPhone, I discovered several third-party apps that streamlined the process. These apps not only simplified the task but also offered unique features. One app that stood out was CamFind. I found this app user-friendly and effective for performing reverse image searches.
Using CamFind, I could easily snap a picture with the shutter button and watch as the app quickly identified it. It integrates with various search engines like Google and Bing, providing detailed results. Another impressive app was Veracity. This app allows you to upload images directly from your camera roll or even from your social media accounts, making it incredibly versatile.
- CamFind: Integrates with multiple search engines, easy to use.
- Veracity: Allows uploads from camera roll and social media.
For those who frequently use Google Images, the Google app on iOS is an excellent option. It provides a seamless experience, especially if you regularly use Google Drive for storing images. I’ve used it to tap search on unfamiliar objects, and it consistently delivers accurate results.
Building on this, I recommend trying these apps if you’re looking for efficient reverse image search solutions on your iPhone. They offer various methods to upload and search images, ensuring you find exactly what you need quickly. In my experience, these tools have made my search tasks much easier and more effective.
Privacy Concerns and Ethical Considerations
In my experience, using reverse image search on an iPhone raises several privacy concerns. I’ve tested various methods, including Google Images and Bing Search, to see how images are processed. It’s crucial to consider how these platforms handle our data. For example, Google Images stores search terms and image data, which raises questions about data retention and sharing.
Building on this, the ethical considerations come into play when using image search features. What if the images being searched include personal information? This naturally brings us to the potential misuse of such tools. For example, I’ve found that using these features for identifying individuals without consent can lead to ethical dilemmas. This leads us to the importance of being aware of the information we share and search for.
Connected to this, here are some key actions I recommend to stay ethical while using these tools:
- Be cautious with uploading personal images to any platform.
- Use search features responsibly and respect privacy norms.
- Regularly review privacy settings on your iOS app.
In conclusion, while reverse image search iPhone tools like Google Reverse Image Search offer convenience, they also demand cautious use. By understanding privacy and ethical implications, we can use image search technologies responsibly. This balance is essential as we navigate the digital landscape.
Advanced Tips for Efficient Image Searches
I’ve tested various techniques for reverse image search on my iPhone, and efficiency is key. Using Google Image Search on your mobile device can be straightforward, but there are advanced methods to streamline the process. Let’s explore these tips.
Firstly, I recommend having the Google app installed. This app provides a direct link to Google Images, making it easy to upload or take a picture for searching. Here’s how I make the most of it:
- Open the Google app and tap on the “camera” icon to access Google Image Search directly.
- Choose a picture from your gallery or snap a new one to start the search.
- Use the crop tool to focus on the part of the image you’re interested in.
In my experience, this method speeds up the search process significantly. For more intricate searches, creating a dedicated folder for potential search images can be a game-changer. It keeps everything organized and accessible.
- Save images in a folder named “Search” on your iPhone.
- Use Google Images to upload from this folder when searching.
What’s particularly interesting is how often Google Images can surprise you with unexpected links and information. This naturally brings us to the importance of using precise search criteria to get the best results. These tips have enhanced my search efficiency tremendously.
Benefits of Using Reverse Image Search
In my experience, reverse image search on the iPhone has been a game-changer for verifying image sources and gathering more information. I’ve tested various apps and tools, and they offer several benefits that streamline my daily tasks. Let’s explore some of the key advantages I’ve found.
Connected to this, the convenience factor is significant. With just a few taps, I can quickly access detailed information about an image without switching devices. This leads us to a few major benefits:
- Verification: I’ve used reverse image search to confirm the authenticity of photos, helping me avoid misinformation.
- Source Identification: Finding the original source of an image is much easier, enhancing my research accuracy.
- Similar Images: Discovering visually similar images helps me explore diverse perspectives on a topic.
What’s particularly interesting is the ability to uncover hidden details. For example, I often find additional links and context related to an image, enriching my understanding of the subject. This naturally brings us to another point: efficiency.
Building on this, the speed at which I can gather information is remarkable. I recommend using this tool for anyone needing quick, reliable image verification. In summary, reverse image search on my iPhone has not only boosted my productivity but also enhanced my ability to conduct thorough research.
Troubleshooting Common Issues
I’ve found that reverse image searches on iPhone can sometimes present challenges. One common issue is not getting the desired results. I recommend starting with a high-quality image for better accuracy.
Building on this, ensure your internet connection is stable. I’ve had instances where a weak link to Wi-Fi caused delays or errors in the search process. This leads us to another potential problem: app compatibility. Not all apps or browsers support reverse image search equally well.
- Use Safari or Chrome for better compatibility.
- Ensure the app or website is updated to the latest version.
- Clear your browser cache if you encounter persistent issues.
Connected to this, sometimes the image format can be problematic. I’ve noticed that certain formats, like HEIC, might not work well. Converting images to JPEG or PNG often resolves this.
What’s particularly interesting is the role of permissions. If your browser or app doesn’t have access to your photos, you might face issues. Check settings to ensure permissions are correctly configured.
- Go to Settings and select the app or browser.
- Ensure photo access is enabled.
- Restart the app after adjusting settings.
Finally, if issues persist, consider using a different link for the search. I’ve found that switching links sometimes yields better results. With patience and these adjustments, you can enhance your reverse image search experience on iPhone.